My Reconnection People Mission
FREE SHIPPING!
I’m passionate about reconnecting people with things that are real and touchable in our tech heavy isolating world. My goal is to help bring back contact between us all with no phone in the middle. Slow down, take a deep breath and touch someone--With a POSTCARD! No envelope, no wasted envelopes to the landfill, plus postcard stamps are far cheaper and you get to send a smile.
About Us
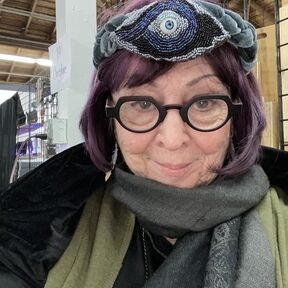
Roxanna Groves
store owner
I love ephemera, paper pieces tell such a story. How can I resist creating cards that can send a giggle or a hug?
I have made art since I could could pick up a pencil or a blob of clay. Because I am entranced with beautiful old bits I wound up going green by repurposing materials in my sculptures and mixed media work. Of course, I couldn’t tear up wonderful vintage things so I headed off to Etsy, where I am That Other Rabbit with my found treasures.
I hope you enjoy falling down my rabbit hole.